Deed
Treasured
   ~Super Savvy Seamstress~
Posts: 2,240
|
Post by Deed on Jul 12, 2005 4:01:16 GMT 10
Finishing off the top. When making the pattern piece I allowed 1 ¼” at the top. Press raw edge under ¼”. 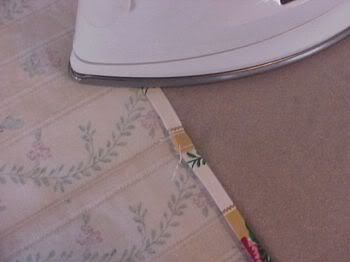
|
|
Deed
Treasured
   ~Super Savvy Seamstress~
Posts: 2,240
|
Post by Deed on Jul 12, 2005 4:01:34 GMT 10
Press under again 1” this time. 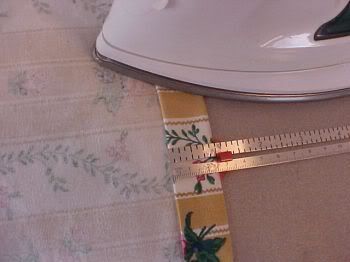 |
|
Deed
Treasured
   ~Super Savvy Seamstress~
Posts: 2,240
|
Post by Deed on Jul 12, 2005 4:02:19 GMT 10
Sew in place close the edge.  |
|
Deed
Treasured
   ~Super Savvy Seamstress~
Posts: 2,240
|
Post by Deed on Jul 12, 2005 4:03:29 GMT 10
If you find the ‘top’ of your fabric has more give than the ‘bottom’ fabric. Hold your fabric like this. Your thumb is on the underside and the rest of your fingers are on the top. You are holding the fabric ‘up’ with your thumb and pressing down with the rest of your fingers. Practice on a scrap of fabric before doing on your project. This helps to ease the 2 pieces together. 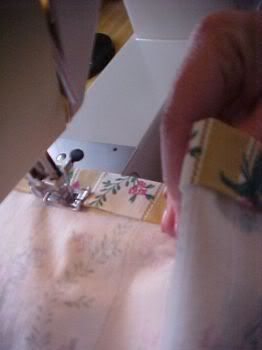 |
|
Deed
Treasured
   ~Super Savvy Seamstress~
Posts: 2,240
|
Post by Deed on Jul 12, 2005 4:03:52 GMT 10
Straps The following is my way of making a 1” wide strap. I hate to turn tubes, so I have figured this way out myself. With right sides together, using a ½“ seam allowance, sew one long seam on the strap. Press seam open. Press each raw edge in ½”. In this instance you will meet the 2 seams up. 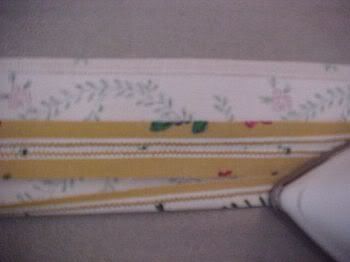
|
|
Deed
Treasured
   ~Super Savvy Seamstress~
Posts: 2,240
|
Post by Deed on Jul 12, 2005 4:04:21 GMT 10
Press the opposite side the same way. 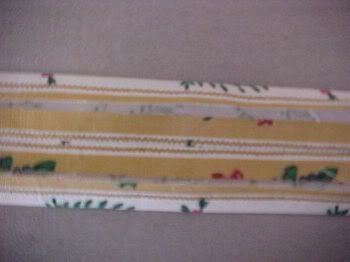 |
|
Deed
Treasured
   ~Super Savvy Seamstress~
Posts: 2,240
|
Post by Deed on Jul 12, 2005 4:04:42 GMT 10
Now fold in half on the seam line and matching up each pressed edge. Press in place. 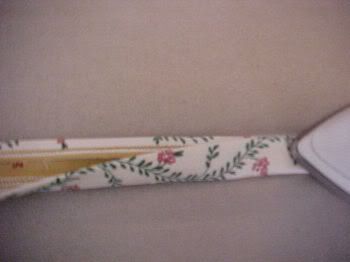 |
|
Deed
Treasured
   ~Super Savvy Seamstress~
Posts: 2,240
|
Post by Deed on Jul 12, 2005 4:05:13 GMT 10
Sew the seam on the outside close to the edge. And topstitch the opposite side of the strap close to the edge so both sides match. Finish off each end of the strap. I suggest running a short zigzag stitch across the ends. Do the same for the other strap. 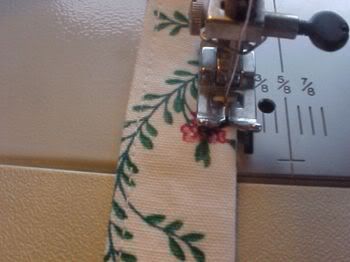 |
|
Deed
Treasured
   ~Super Savvy Seamstress~
Posts: 2,240
|
Post by Deed on Jul 12, 2005 4:05:44 GMT 10
Positioning the straps on the tote bag. Take your ruler and from the center of the side seam, measure in and make a mark 3” in. 
|
|
Deed
Treasured
   ~Super Savvy Seamstress~
Posts: 2,240
|
Post by Deed on Jul 12, 2005 4:06:12 GMT 10
Take one of your straps and place the outer edge of the strap on the mark and the strap going to the inside of the tote bag. Pin in place. In the following picture, my finger on the left is on the side seam and the strap is to the inside of the little blue mark I made. It is kind of hard to see. 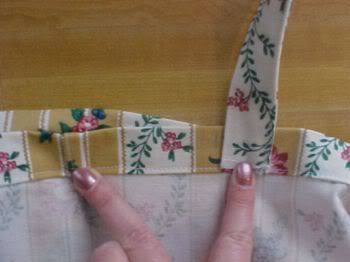 |
|
Deed
Treasured
   ~Super Savvy Seamstress~
Posts: 2,240
|
Post by Deed on Jul 12, 2005 4:06:38 GMT 10
Sew in place. I used a ‘box’ stitch. Do the same to all 4 ends of the straps. Remember you want one strap on each side of the tote bag. Don’t have your straps going from the front to the back, this will limit your top opening to get things into it. If you chose to use webbing With a match or a lighter, gently melt the ends of your webbing. This will stop it from fraying. Position and sew in place the same as the fabric straps. Tip: With either fabric straps (cheaper and they will match) or webbing, SEW SLOWLY You are going through a lot of thicknesses. I also recommend using at least a size 14 needle when doing this. 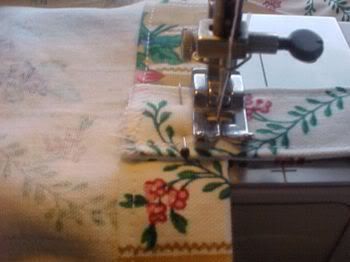 |
|
Deed
Treasured
   ~Super Savvy Seamstress~
Posts: 2,240
|
Post by Deed on Jul 12, 2005 4:06:58 GMT 10
A ‘box’ stitch (my term here lol) is when you stitch around in a box. This is to reinforce the strap. You can also stitch an ‘X’ in the center of the box if you like. 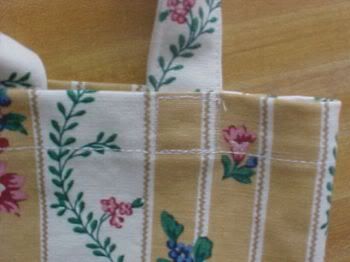 |
|
Deed
Treasured
   ~Super Savvy Seamstress~
Posts: 2,240
|
Post by Deed on Jul 12, 2005 4:07:33 GMT 10
Here is your finished Tote Bag! 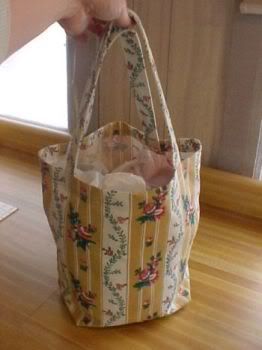 |
|