|
|
Post by teddymaker on Jun 18, 2006 6:10:10 GMT 10
Sorry it has taken so long to get this up.....Please feel free to do any steps your own way as you may have a better way to do it than I have here  ~ Step 1~ gather materials: scrapbooking paper( I used these because they are inexpensive and come in so many pretty colors and patterns, but you could use wrapping paper, wallpaper etc.), card stock or cardboard (not real thick cardboard), craft glue, stickers or cutouts from magazines etc. ,paintbrush, pinking shears or fancy edge scissors, ribbon, small silk flowers or buttons, hole punch, regular scissors, pencil, ruler or ready made bookmark...*optional* gold craft paint 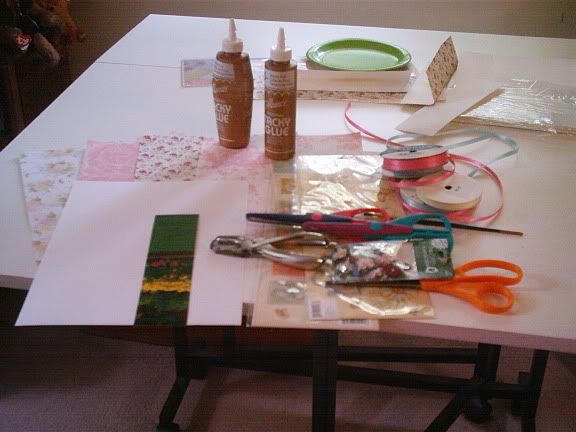 |
|
|
|
Post by teddymaker on Jun 18, 2006 6:25:17 GMT 10
~Step 2~ measure double the size you want your bookmark to be(if your card stock is heavy , you can measure it single) ~3~ cut out bookmark and fold in half 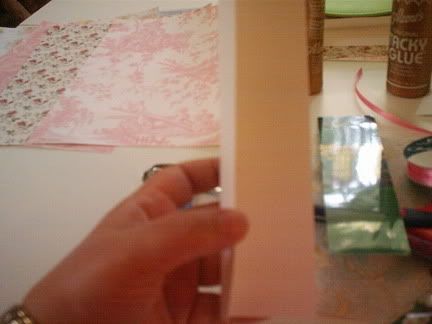 |
|
|
|
Post by teddymaker on Jun 18, 2006 6:32:23 GMT 10
~step 4~ Glue bookmark closed to single thickness 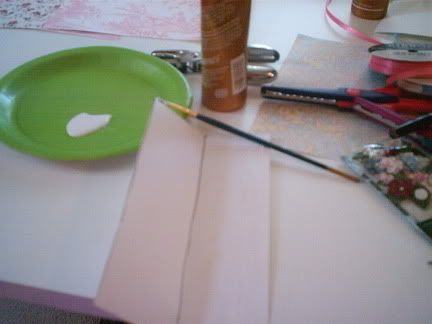 |
|
|
|
Post by teddymaker on Jun 18, 2006 6:34:08 GMT 10
~step 5~ measure out paper to size of bookmark *remember this will be double* 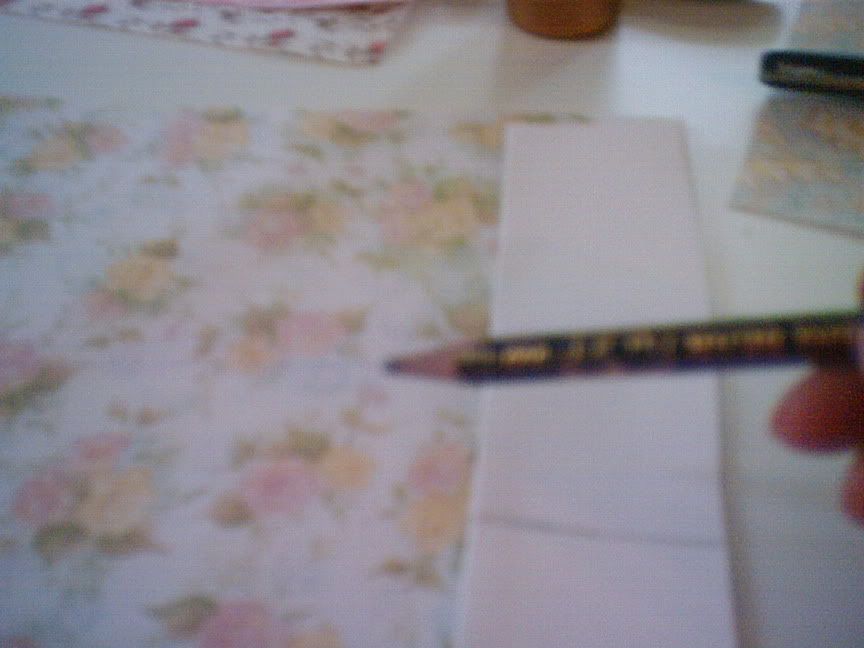 |
|
|
|
Post by teddymaker on Jun 18, 2006 6:36:24 GMT 10
~step 6~ Fold paper over bookmark and glue in place 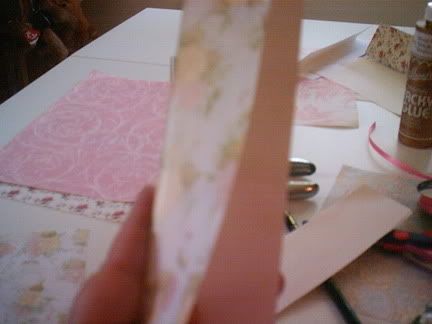 |
|
|
|
Post by teddymaker on Jun 18, 2006 6:40:47 GMT 10
~step 7~ * important * make sure glue is completely dry before trimming or paper will crumble!!!....Trim around top, bottom and right side with fancy edge scissors or pinking shears leaving left side plain so it will sit in the book properly 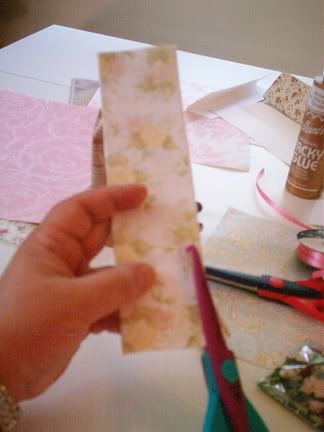 |
|
|
|
Post by teddymaker on Jun 18, 2006 6:43:51 GMT 10
~step 8~ puch hole for ribbons at top of bookmark 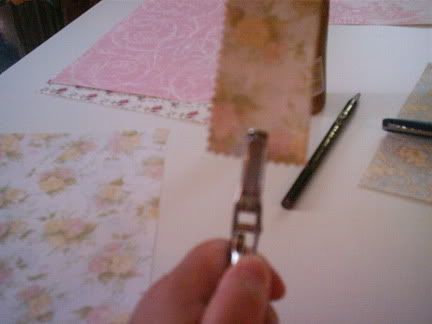 |
|
|
|
Post by teddymaker on Jun 18, 2006 6:46:37 GMT 10
~step 9~ Add stickers or cutouts to bookmark on front and back 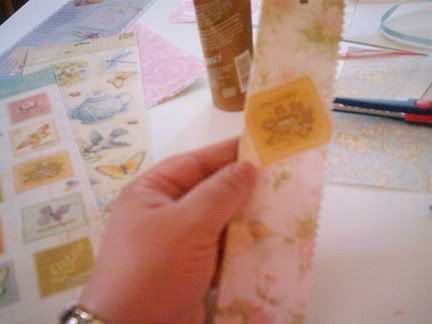 |
|
|
|
Post by teddymaker on Jun 18, 2006 6:52:32 GMT 10
~step 10~ *OPTIONAL STEP*...I did a gold antique wash on my bookmark...mix gold craft paint with water to a thin consistancy...load brush almost like a dry brush technique and brush on bookmark...dry with a hair dryer 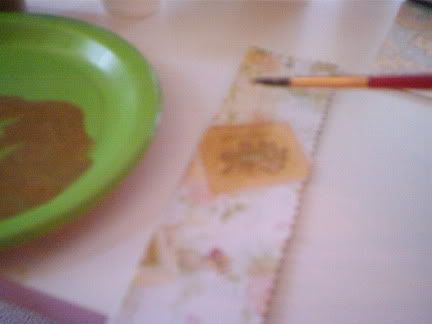 |
|
|
|
Post by teddymaker on Jun 18, 2006 6:55:49 GMT 10
~step 11~ thread two pieces of ribbon through hole and glue a small silk flower or button , etc. below the hole 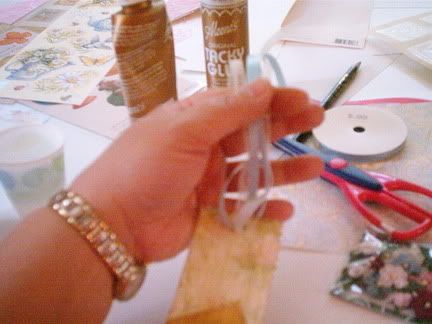 |
|
|
|
Post by teddymaker on Jun 18, 2006 6:57:55 GMT 10
Your bookmark is now complete and ready to use or give as a gift  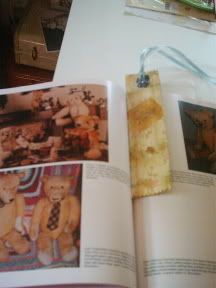 |
|
|
|
Post by braided-rug on Jun 18, 2006 10:27:02 GMT 10
Jayne thank you so much for your wonderful tutorial.
|
|
Michelle
Regular Contributor
 
Posts: 1,181
|
Post by Michelle on Jun 18, 2006 12:39:47 GMT 10
Beautiful--thanks so much for taking the time to do that for us  Your bookmarks put mine to shame LOL! |
|
Deed
Treasured
   ~Super Savvy Seamstress~
Posts: 2,240
|
Post by Deed on Jun 18, 2006 20:31:49 GMT 10
Great tutorial Jayne and your bookmark is lovely!  |
|